
Are you ready to make your company rides easier, more organized, and expense-friendly? Setting up a Lyft Business Account is a fantastic way to streamline travel for your team while keeping all the receipts and billing managed effortlessly. Whether you’re a small startup or a big enterprise, Lyft Business can help move your people with simple, flexible payment options and automated expense tracking.
Here’s a friendly, step-by-step guide on how to set up your Lyft Business Account and start enjoying seamless business rides. Plus, tips on making the most of your new account—from managing payment methods to switching between personal and business profiles.
Why Choose a Lyft Business Account?
Managing business travel can be a hassle. Paper receipts, manual reimbursements, multiple payment cards—it all adds up. Lyft Business solves these headaches by letting you create dedicated business profiles within the Lyft app, so rides are automatically billed to your company account or preferred payment method.
Benefits include:
-
Easy expense tracking with digital receipts sent directly to your finance team or expense provider like Concur
-
Ability for employees to switch between personal and business rides effortlessly in the app
-
Direct billing options to your organization without requiring personal card charges
-
Rewards and credits (depending on your region)
-
Simplified travel management for group transportation needs
Step-by-Step: How to Set Up Your Lyft Business Account
-
Create Your Business Account
-
Head to the Lyft Business website or open the Lyft app.
-
Use your work email address to register your business profile—this keeps things professional and ensures receipts go to the right place.
-
If your organization already partners with Lyft, you may receive an invitation email to join; just follow the link to get started.
-
-
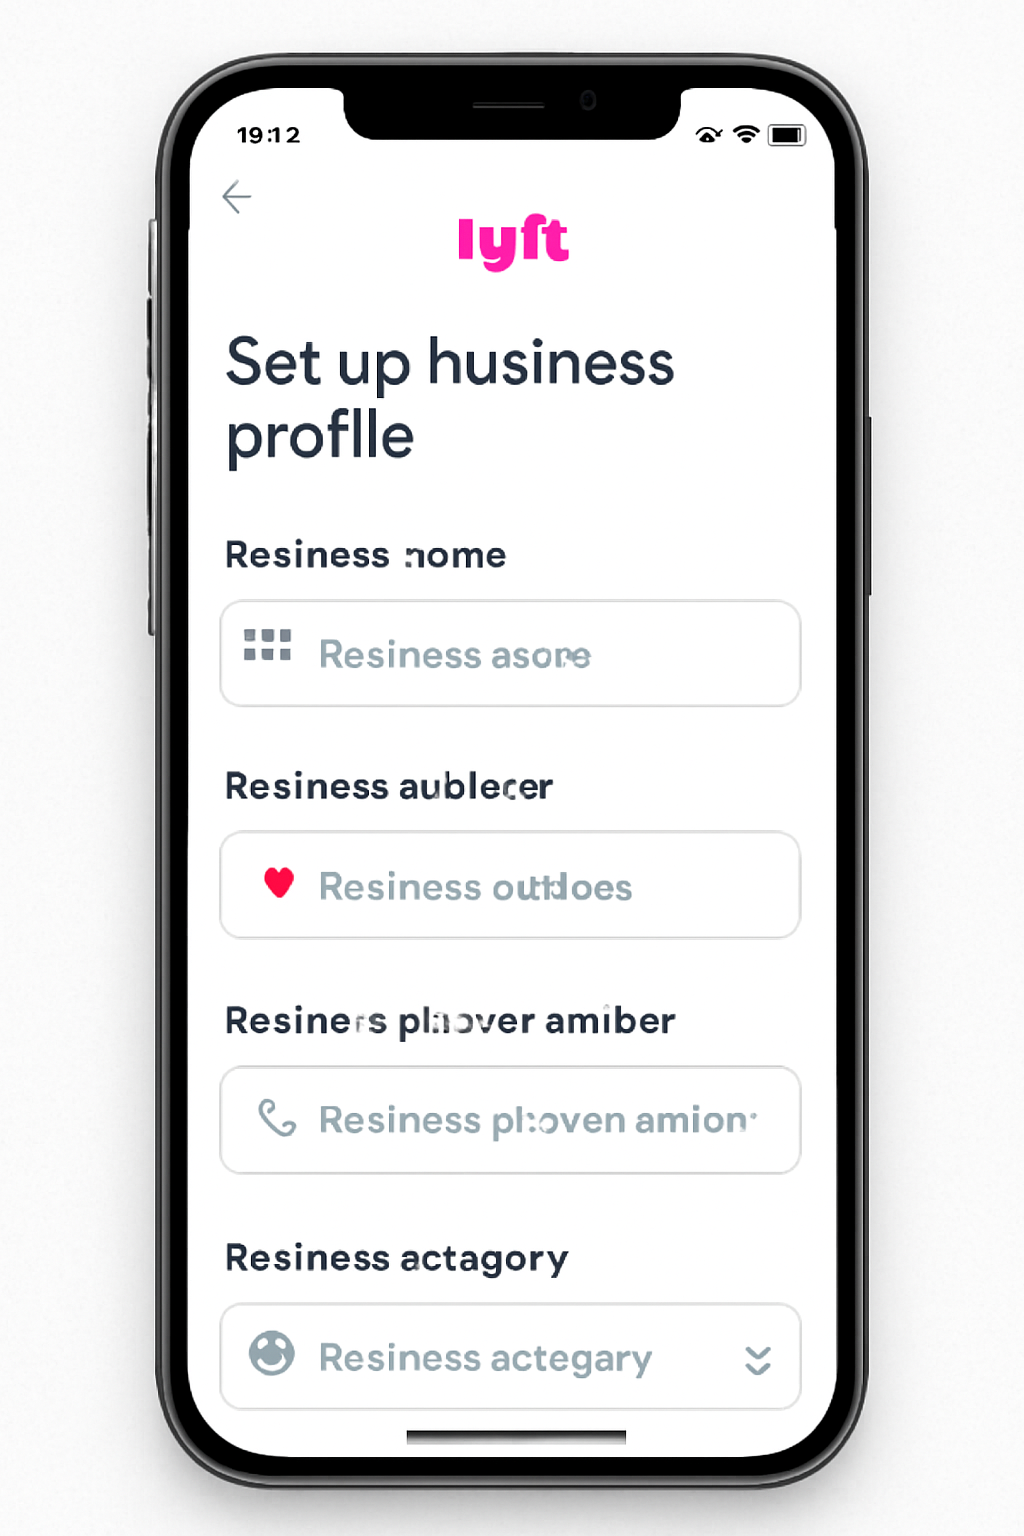
Set Up Your Business Profile in the Lyft App
-
Open the Lyft app on your smartphone.
-
Tap the menu and select “You,” then “View Profile.”
-
Find and tap “Business profiles.”
-
Enter your official work email and hit “Next.”
-
Add your payment method—this could be a corporate card, company account, or direct billing option if your company has one set up.
-
Confirm and finish the setup.
-
-
Manage Payment Methods
-
Choose how you want to pay for your business rides.
-
You can select your corporate card or add a new business payment method.
-
If your company uses direct billing through Lyft, rides will automatically be charged to the organization.
-
Personal rides remain separate with a personal card and profile, so your expenses do not mix.
-
-
Switch Between Personal and Business Profiles
-
Whenever you request a ride, toggle your ride profile from personal to business.
-
This allows easy switching without logging in and out.
-
Your ride will be logged under the chosen profile and billed accordingly.
-
-
Automate Expense Reports
-
Link your expense software such as Concur or Expensify to your Lyft Business account.
-
Receipts and ride details will automatically forward to your finance team for simple reimbursement or accounting.
-
Tips for Maximizing Your Lyft Business Account
-
Regularly Update Payment Methods: If your corporate cards change or you have new billing arrangements, keep your business profile updated to avoid payment issues.
-
Use Business Profiles for All Work-Related Rides: To ensure all work trips are expensed correctly, always toggle to your business profile in the app.
-
Encourage Team Adoption: Share the process with your team and encourage everyone to use the business profile for work trips.
-
Leverage Lyft Business Tools: Explore Lyft Business dashboards and reporting features to monitor travel spending and optimize budgets.
More news :-